I saw some spooky candles on the internet somewhere, then forgot all about them. My husband showed them to me and renewed my interest. I started looking around and found out that they should be really easy to make. I’m going to walk you through the process.
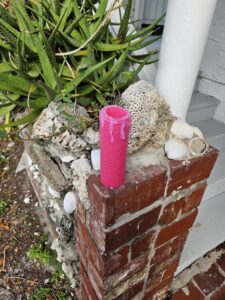
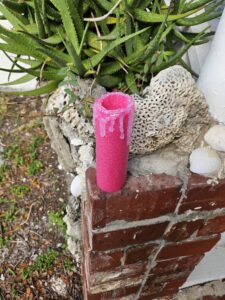
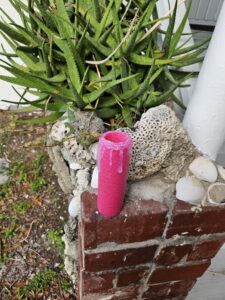
Below are the first and second attempts. My first one (on the right) looks great! My second one (on the left) was done a couple of days later and doesn’t quite live up to the first. I’m trying to figure out what the difference is. I’ll update with my results after I experiment.
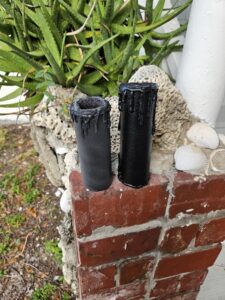
Depending on how you want to display them, get pool noodles. Those long, cylindrical floats for the pool will be perfect for your candle. You will also need battery operated tea candles. Since this is a
halloween decoration, I went for a yellow flame (I couldn’t get the orange flame delivered before Halloween). I started a little late because I was getting ready for my craft fair.
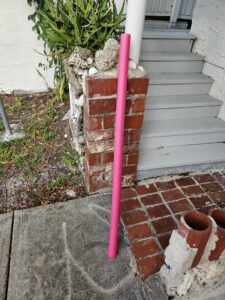
I am making a grouping for the back of the toilet at work. Sounds weird, but I decorate the bathroom a little spookier than the public area of the store. Makes it a little more shocking when you go from a kid-friendly store to a spooky bathroom.
I am cutting them shorter than I would for a floor display. I didn’t measure exactly, just eyed it (which makes the hubby nuts).
I took what was left of the noodle outside with my heat gun and tried melting it to look like a candle. Nope, it melted inward instead of out, and just shriveled up. Not what I was looking for. I decided that maybe I should look at a tutorial. I like to try and figure stuff out for myself first, but this was a good idea. Hot glue is the key. I ran a couple of lines down from the cut end of the noodle, and it looks just like wax after it dries.
After I finished my trial candle, I realized that I didn’t have a place to put the “flame” I used my craft knife set to widen the interior circle for the tea candle. It was hard to remove the inside after I cut it, but I ended up folding it inside and making a shelf for the light.
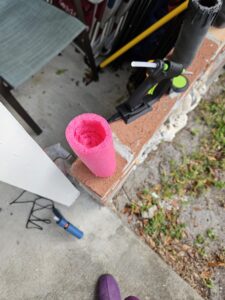
Then I dripped the glue down the side, trying to make it look natural. I realized that I needed to put some around the top edge to make it look better.
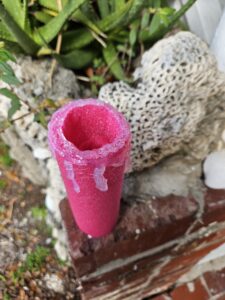
After the glue dried, I used black Plastidip to spray the whole thing, including inside the top.
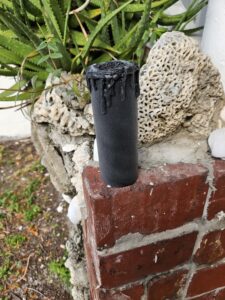
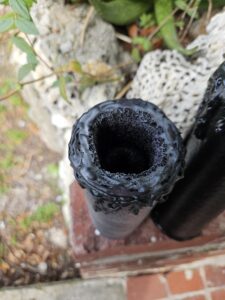
That’s where I am right now in the process. I’ll post an update when I finish.
