I made the hat that went with the steampunk theme I decided on for Halloween.
The first issue was printing the pattern. I printed it, and cut out the pieces of paper, laid them out on the EVA foam, cut that, and started to put it together. It was incredibly small. It fit in the palm of my hand. I wasn’t going for that look, so I needed to try again.
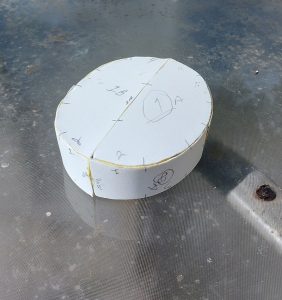
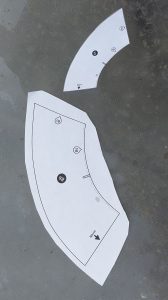
I needed to figure out what went wrong. I put my tech gut on it. Rob is a genius at figuring this stuff out. But I try not to ask him, because he tends to act like I’m an idiot for not understanding. Computers and technology are not my forte. I get the basics, I can do most things, but somethings are just out of my scope. This is one of those things. Fortunately, it took him a while, so I didn’t feel so bad. There were instructions for printing them to size that I didn’t notice (and neither did he :)). After we got the sizing fixed and printed, we taped it together and I cut out the pieces. Huge difference, these are both the same section.
I put the pieces together, painted it inside and out multiple times, and this is the result. It fits much better.
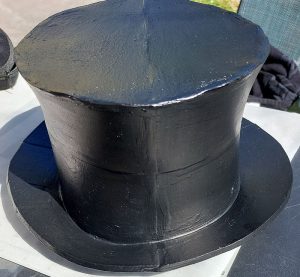
The seam around the middle section stands out, so it was suggested that I put a ribbon around it. I argued against it. I wasn’t going for perfection, I just wanted to do something. I lost, and it actually worked out well.
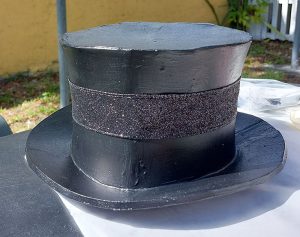
Of course, if there is a ribbon around it, it should have a bow 🙂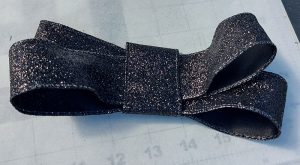
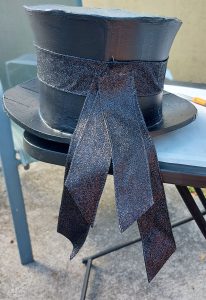
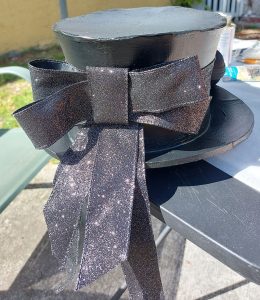
Looks pretty cool. Then I added some gears and some steampunk looking glasses Rob had, and here is the result.
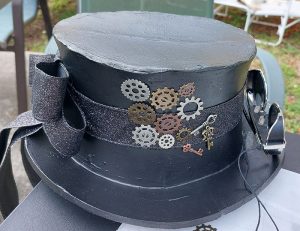
Check out the whole outfit on the next post.
